

Time:2026-10-14
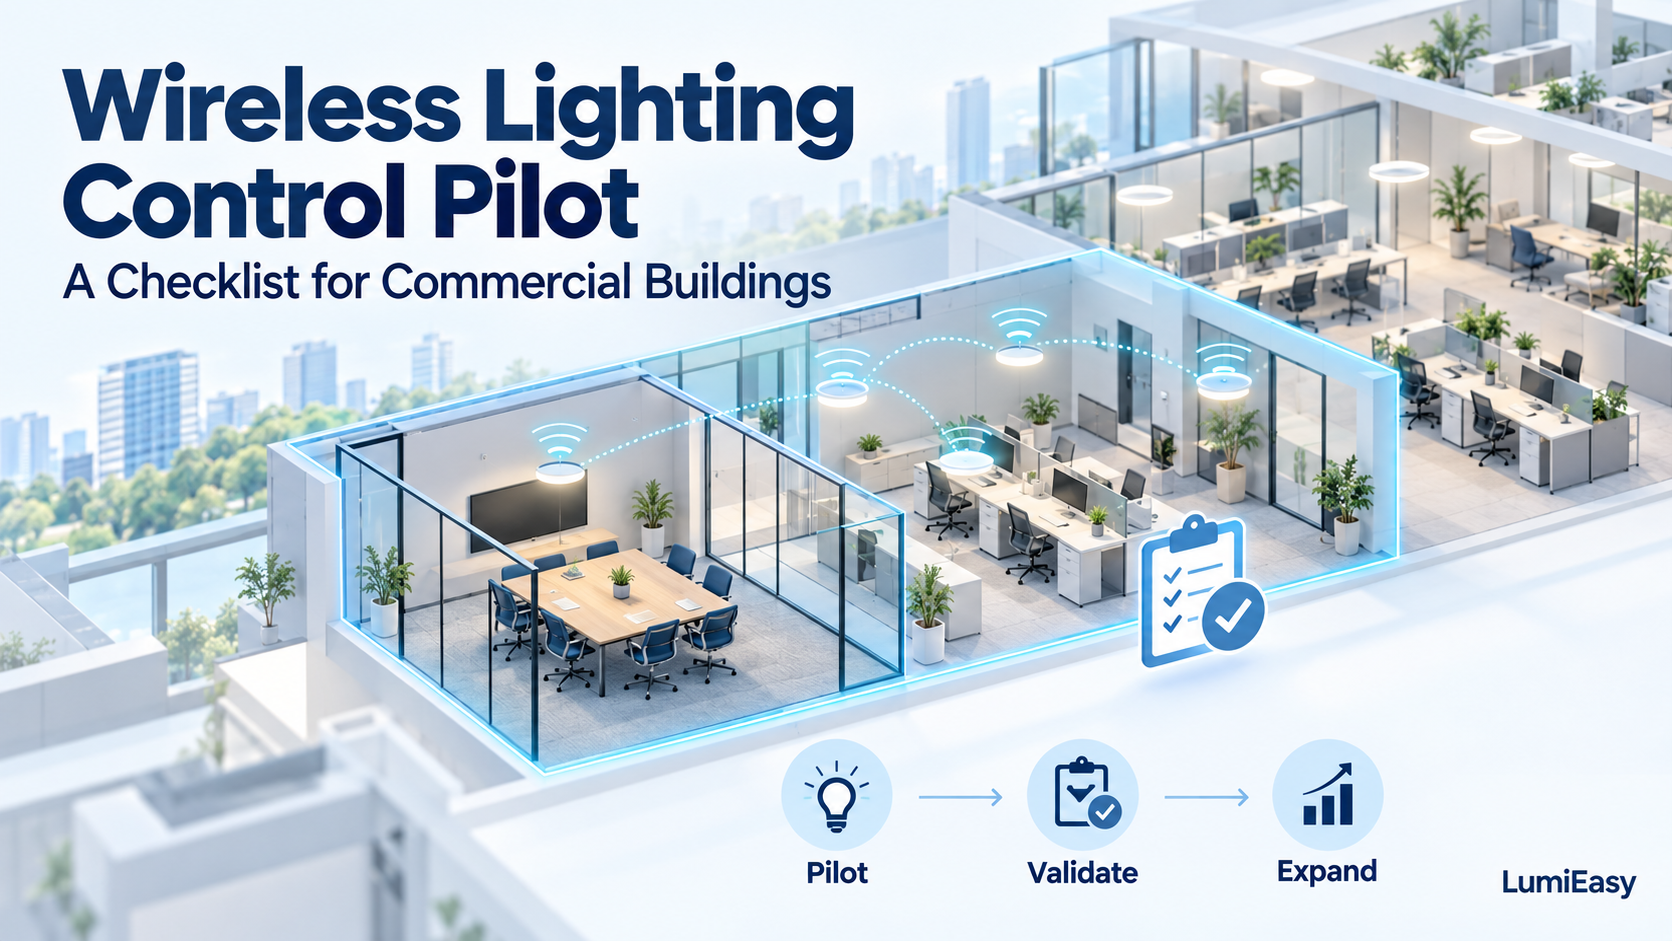
A wireless lighting control pilot tests a small, representative part of a building before a wider retrofit. It should confirm fixture compatibility, occupancy and daylight response, local operation, communication reliability, and the quality of energy data. The result should be a documented decision about whether—and where—to expand.
For a facility manager, a successful demonstration is only the beginning. Lights also need to respond correctly when someone works late, a meeting room is occupied by seated users, or an internet connection becomes unavailable. Contractors need to know how much installation and setup work the next phase will require.
This checklist helps building owners, electrical contractors, ESCOs, and facility teams evaluate those conditions. It also shows where LumiEasy sensors, power packs, wall switches, and gateways fit into a commercial retrofit pilot.
Start with the operating problem and the evidence needed to resolve it. “Install smart controls in one room” is a scope description. “Reduce unnecessary lighting in an intermittently used room while maintaining suitable task lighting” is an outcome that can be tested.
Agree on acceptance criteria with the building owner, contractor, and people who use the space. Record:
Which fixtures and spaces are included.
Required task lighting and acceptable dimming behavior.
Occupancy, vacancy, daylight, and schedule rules to be demonstrated.
How local controls interact with automatic operation.
Expected behavior during internet loss and power restoration.
What data will support the expansion decision.
Set project-specific limits for response time, missed detections, nuisance activations, and installation effort. A meeting room and a warehouse aisle need different tests; one universal pass mark will not describe both accurately.
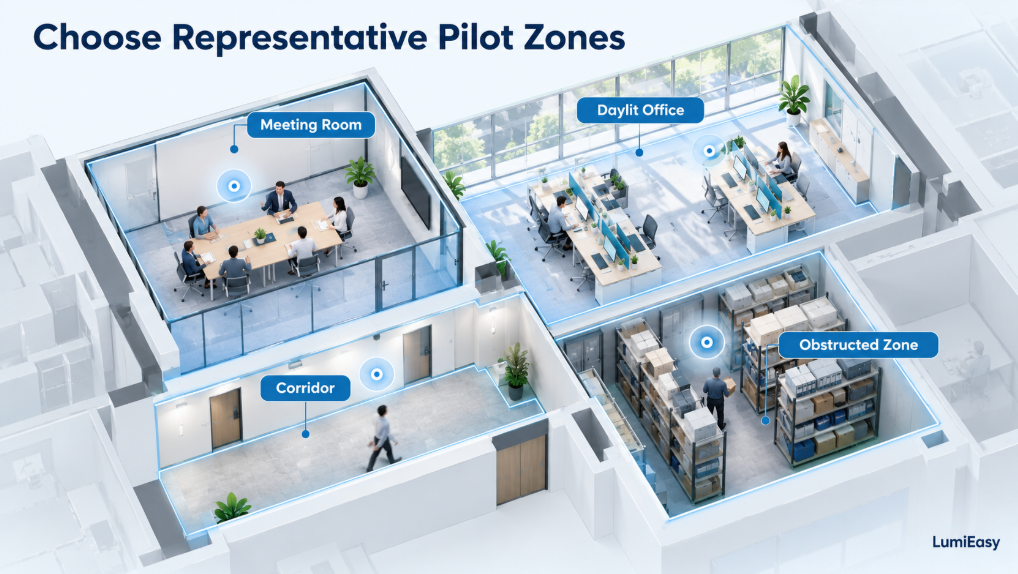
Select pilot zones that expose the conditions the larger project will face. An empty demonstration room cannot establish performance in occupied offices, enclosed rooms, or spaces with metal obstructions.
| Pilot space | What it helps validate | Conditions to include |
|---|---|---|
| Meeting room | Occupancy response and usable local controls | Seated users, presentations, and an empty-room timeout |
| Office near windows | Daylight response and zone separation | Changing daylight, blind positions, and an interior comparison zone |
| Corridor or support area | Response to intermittent activity | Normal walking routes, adjacent movement, and after-hours use |
| Space with partitions or metal shelving | Communication and detection under real conditions | Closed doors, obstructions, and the planned device positions |
Keep the scope manageable, but include each materially different fixture interface or control behavior intended for expansion. If the rollout includes high-bay or outdoor areas, test those applications separately with suitable devices and mounting conditions.
The sensor detects conditions; a compatible controller acts on the lighting load. Wireless communication does not remove the need to match the controller to the LED driver, power supply, and electrical load.
Before ordering pilot equipment, collect driver model numbers, input voltages, dimming interfaces, fixture quantities, mounting heights, and photographs of the available installation space.
| Pilot requirement | LumiEasy product to evaluate | What to confirm on site |
|---|---|---|
| Add occupancy and daylight sensing without running power to the sensor position | DC Ceiling Sensor TL-NE-BPRW-MN-03-02, a battery-powered Bluetooth Mesh PIR and daylight sensor | Detection at the installed height, low-motion occupancy, battery access, and compatibility with the selected control devices |
| Add switching and dimming to suitable existing LED loads | LumiEasy Power Pack, with published 0–10V dimming and relay options | Driver dimming behavior, relay load and inrush suitability, wiring, and the exact ordered version |
| Provide a familiar point for everyday control | Wireless Bluetooth Control Switch, with scene and brightness controls | Supported commands, the intended load or controller connection, and interaction with automatic rules |
| Evaluate remote and group operation | LumiEasy Ceiling Mounted Gateway | The selected connectivity and power options, site network access, and remote functions available in the chosen configuration |
For an existing 0–10V installation, a pilot architecture to review with LumiEasy is:
Compatible sensor or local switch → wireless control network → compatible power pack/controller → LED driver and fixtures.
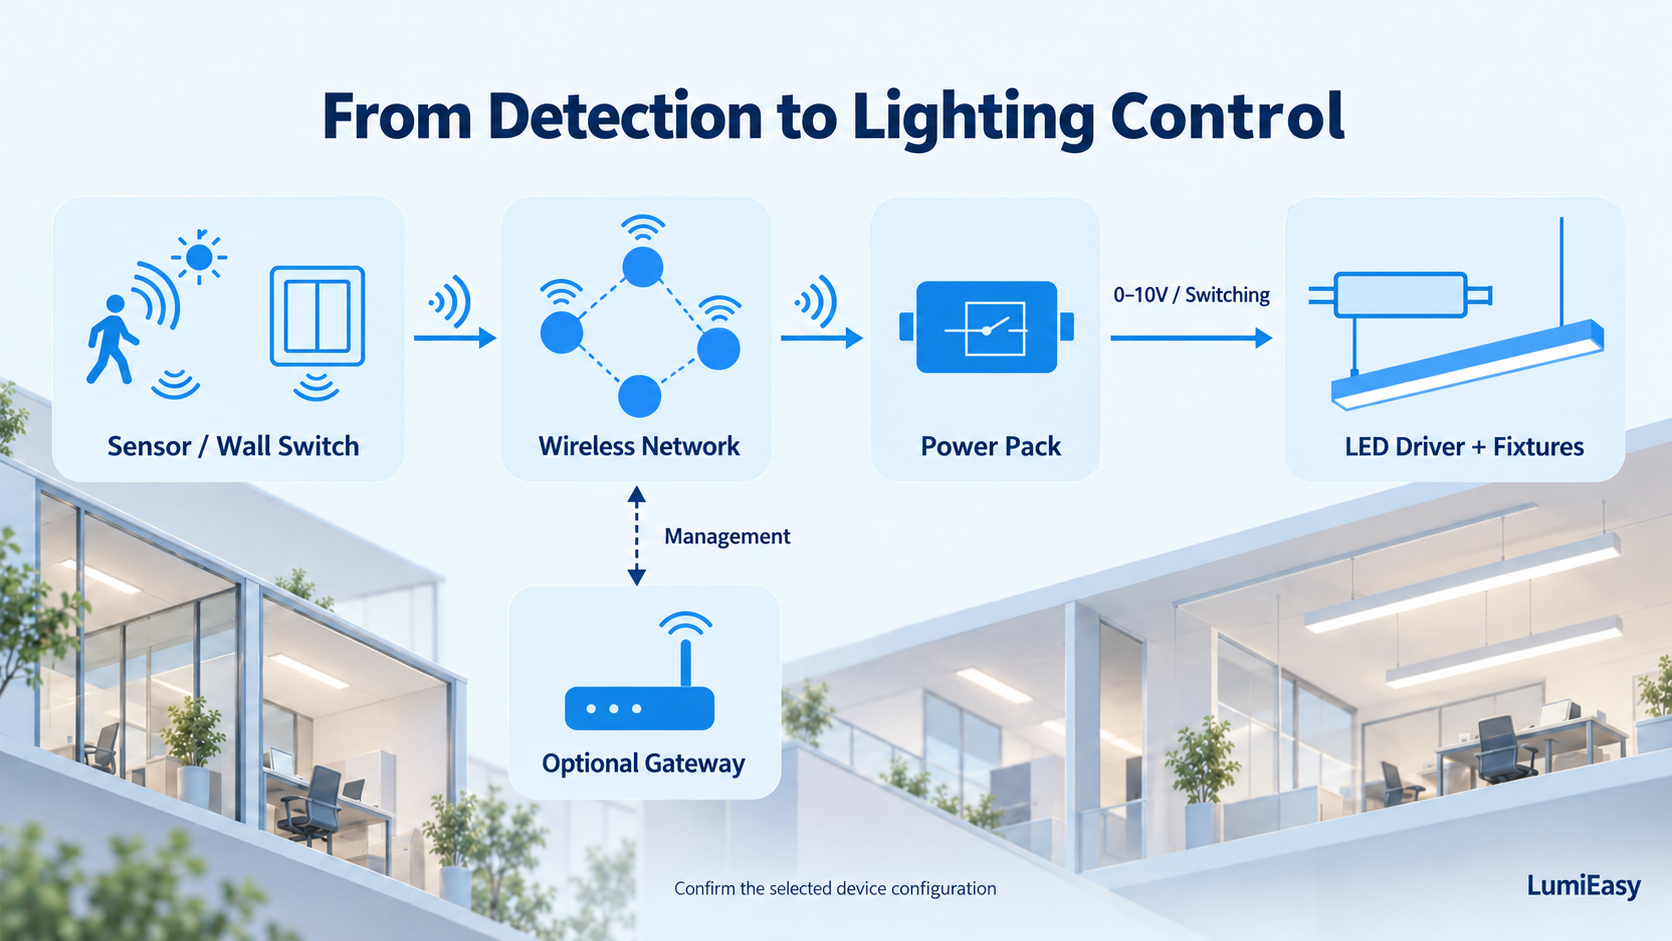
A gateway can provide a management connection where the selected system requires it. Ask LumiEasy to confirm the bill of materials, platform, firmware, and supported functions as one configuration before installation. A shared protocol label alone does not establish compatibility.
The DC Ceiling Sensor's published specification lists DC 3V power and indoor IP20 use. Its installation needs to suit the actual room. The sensor is a control input, rather than a replacement for the device that switches or dims the load. See its published specifications.
Plan wireless coverage around the roles of the installed nodes. Bluetooth SIG explains that battery-powered low-power nodes do not relay mesh messages. Confirm relay and, where applicable, Friend support in the selected powered devices instead of assuming that each added sensor extends the network. Bluetooth mesh networking FAQs.
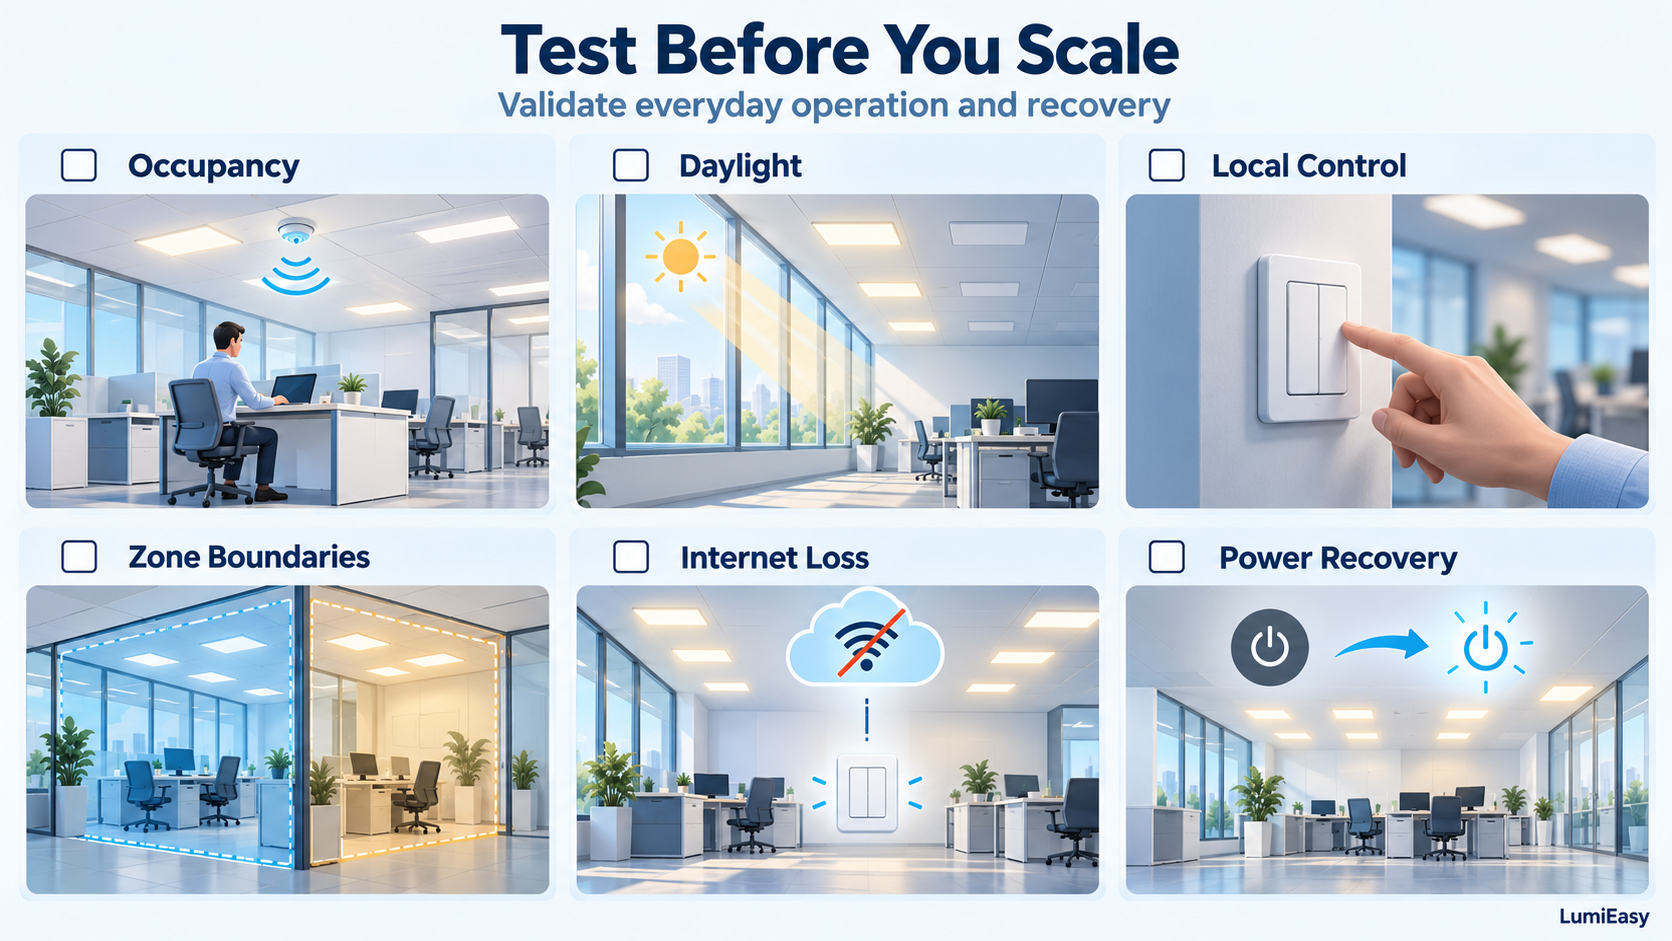
Test the pilot in its normal working environment, using the agreed control settings. Record the outcome, any adjustment made, and the result of the repeat test.
| Test | Evidence to record | Acceptance question |
|---|---|---|
| Occupied operation | Entry routes, seated activity, detection events, and light response | Does lighting remain suitable while people use the space? |
| Vacancy response | Time from the last detected activity to the intended lighting state | Does the zone return to the agreed setting? |
| Daylight response | Task-plane illuminance and dimming behavior under different daylight conditions | Is useful lighting maintained without distracting changes? |
| Local control | Scene selection, brightness changes, and return to automatic operation | Can users operate the room predictably? |
| Group boundaries | Commands and sensor events near adjacent zones | Do the correct fixtures respond? |
| Communication | Repeat commands with doors closed and normal obstructions present | Does the installed layout support reliable operation? |
| Internet disconnection | Local behavior and availability of remote functions | Does observed behavior match the agreed design? |
| Power restoration | Recovery of groups, settings, and scheduled behavior where supported | Can the system resume the required operation? |
LumiEasy's commissioning instructions cover functions such as sensor settings, daylight harvesting, scenes, timers, and gateway pairing. Use the relevant instructions for setup, then use the pilot record to establish whether the configured system meets the site's acceptance criteria.
Local operation during an outage, automatic recovery, and control priority should be demonstrated with the selected configuration. Include any required emergency-lighting separation in the project design before testing normal lighting controls.
A useful lighting control pilot measures change against the same lighting boundary. Capture the pre-installation fixture inventory, operating pattern, existing controls, and energy use before changing the system.
The U.S. Department of Energy's FEMP guidance emphasizes documenting baseline conditions and accounting for changes that affect the comparison. These principles are useful when planning a commercial pilot, although the site's measurement requirements should be agreed for the specific project. FEMP measurement and verification activities.
For comparable conditions:
Pilot lighting energy reduction (%) = (Adjusted baseline lighting kWh − Pilot lighting kWh) ÷ Adjusted baseline lighting kWh × 100.
Document changes in occupancy, operating hours, and daylight. If fixtures are replaced at the same time, distinguish fixture-efficiency savings from control savings. A dimming command percentage is not a measured power value.
The LumiEasy DC Ceiling Sensor page describes optional gateway-based energy data collection. Confirm whether the proposed configuration provides measured or estimated values, which loads it covers, and what records can be retrieved. Use appropriate metering where the acceptance criteria require measured kWh.
For a fuller measurement plan, see LumiEasy's commercial lighting energy savings verification methodology.
Expand when the pilot demonstrates the agreed operating behavior and the team understands the work needed to reproduce it. Energy results alone do not describe user experience, maintenance effort, or installation practicality.
The decision record should contain:
Accepted product models, versions, and driver combinations.
Zone drawings, device locations, and final settings.
Test results, unresolved issues, and corrective actions.
Baseline and pilot data, with comparison assumptions.
Installation and setup hours, including return visits.
Account ownership, user training, and battery or device maintenance tasks.
Separate findings by space type. A successful office pilot supports a decision about similar offices; it does not establish performance for a high-rack warehouse or an outdoor loading area. Also identify network changes needed for a larger deployment. A small trial cannot validate the full building's communication capacity.
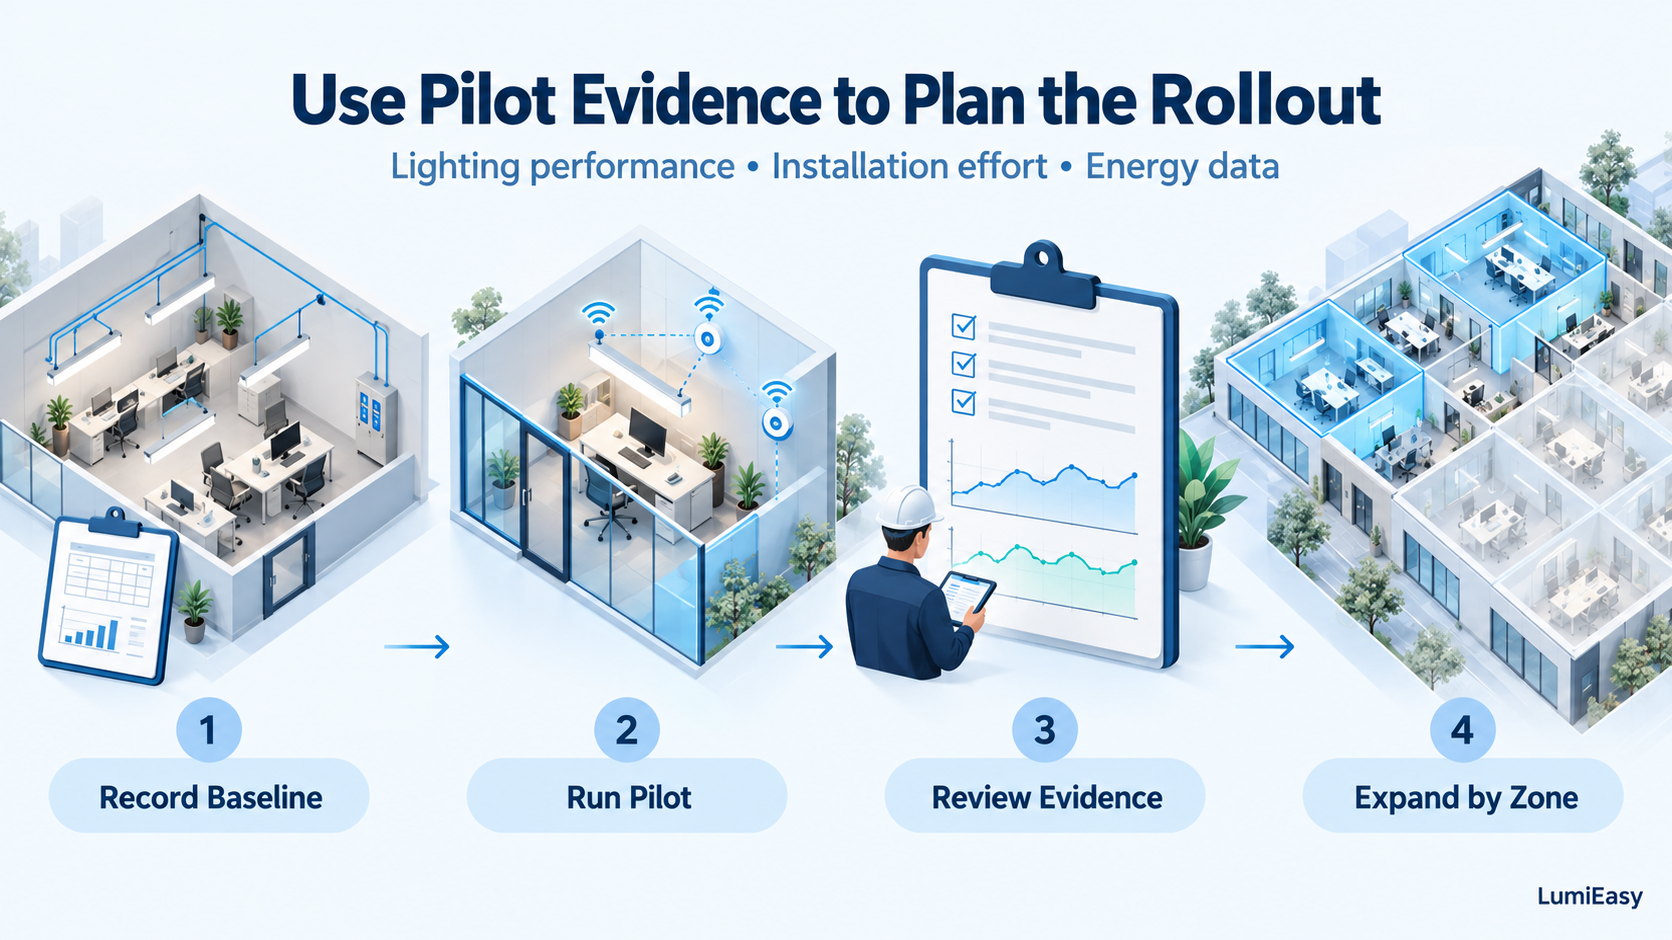
A wireless lighting control pilot should prove that the selected devices work with the existing fixtures, deliver the intended lighting behavior, and can be operated and maintained by the facility team. It should also provide a documented basis for assessing installation effort, energy performance, and expansion to similar spaces.
Yes, where the drivers, electrical loads, installation space, and required functions are compatible with the selected controls. For suitable 0–10V fixtures, LumiEasy's Power Pack is a product to evaluate. Check the actual driver and load combination before applying the design across multiple rooms.
Gateway needs depend on the functions being evaluated and the selected architecture. A local-control trial and a trial of remote management have different requirements. Confirm which features need a gateway or internet connection, then test the specified behavior with the proposed LumiEasy configuration.
Run it long enough to capture representative occupied and vacant periods, relevant operating schedules, and daylight conditions where applicable. Agree on the measurement period before installation. A brief demonstration may confirm switching, but it may not provide enough evidence to estimate annual energy performance.
No. Pilot results can support a project's technical and savings documentation, but rebate eligibility depends on the applicable program, current requirements, and the proposed equipment. Confirm any qualification, application, and pre-approval requirements with the program administrator before committing to the wider purchase.
Send LumiEasy your floor plan, fixture and driver details, ceiling heights, operating schedules, and pilot objectives. Include any requirements for local controls, remote management, or energy data.
Start the discussion with the products and behavior needed in the pilot zone. That gives your team a clear basis for selecting compatible equipment and deciding what must be demonstrated before expansion.
Discuss Your Lighting Control Pilot with LumiEasy


)
)
)
)

+86 15899791249

+86 755 2955 3313


Address: Huafeng No.1 Science and Technology Park, Sanwei, Bao'an District, Shenzhen, Guangdong, China.
